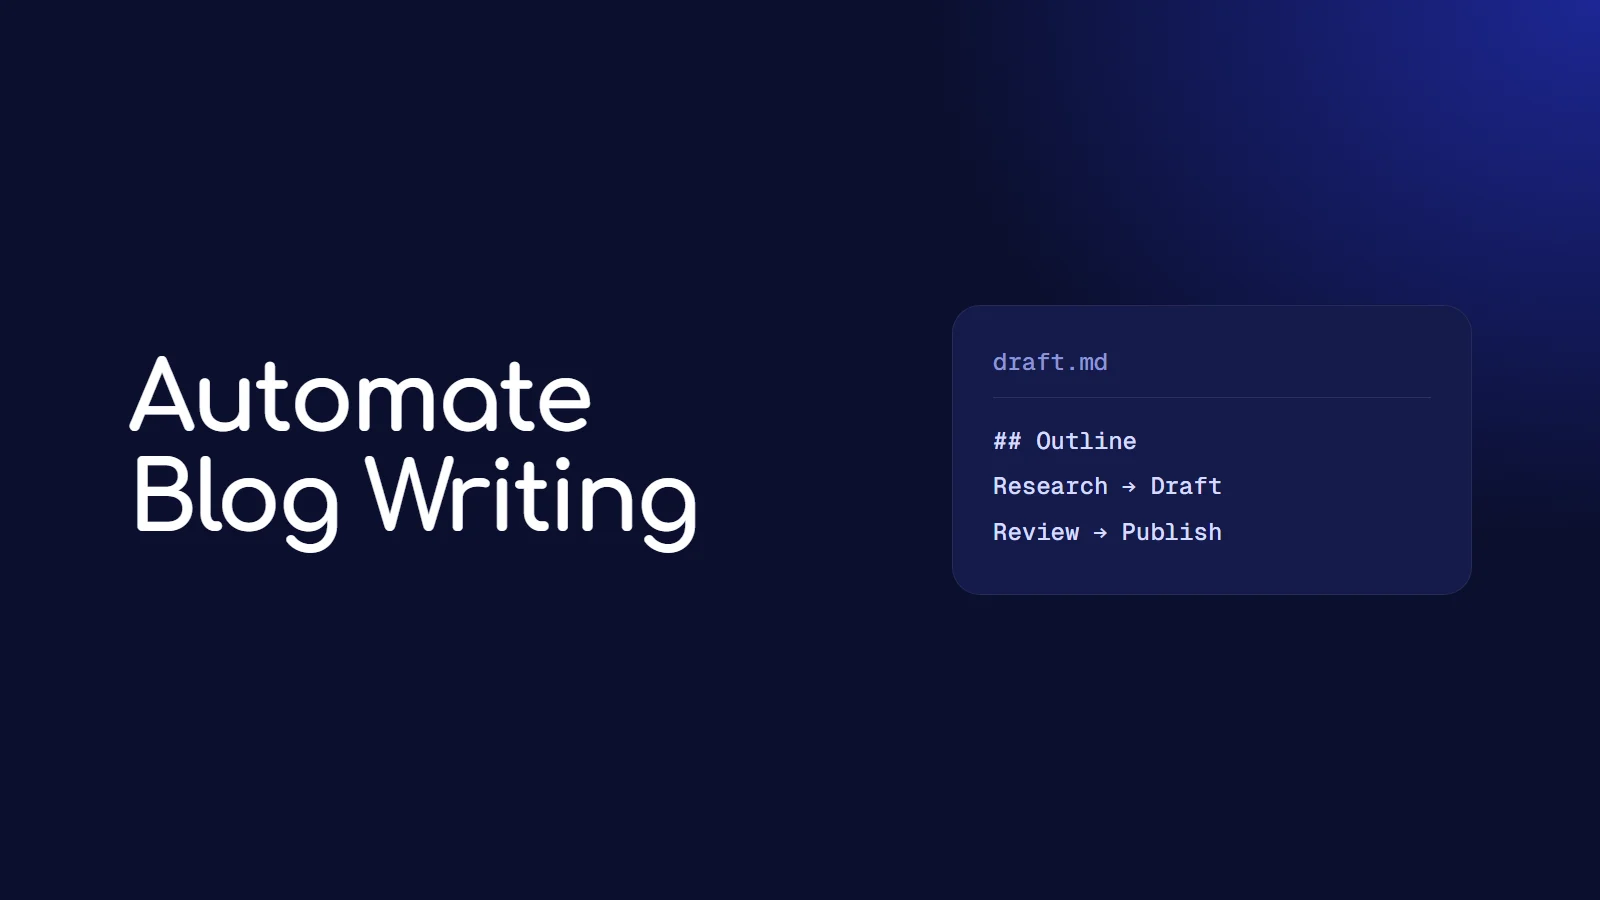
To automate blog writing in 2026, use tools that integrate with your CMS, draft posts, optimize for SEO, and schedule publishing. Start with a few key tools and gradually expand. Always review content before publishing to maintain quality.
This comprehensive guide walks through what changed recently in blog automation, what tools are worth your time, and how to set up a workflow that actually saves 10-20 hours per week instead of creating more work. I'll show you the exact architecture, tools, and processes used in production environments.
What is Blog Automation and Why It Matters Now
AI automation has moved past simple if-this-then-that workflows. In 2026, the focus is on agents that can research, write, and act across multiple tools without human intervention between every step. Blog automation is exactly that kind of shift. It combines large language models with persistent memory and tool access to handle entire workflows end to end.
The difference between 2024 and now is memory. Earlier tools would forget context between steps. Today's agents remember your brand voice, your preferences, and your business rules across sessions. That is what makes them usable for real work instead of just demos.
The Business Case for Automation
Manual blog writing typically requires:
2-3 hours for research and outlining
3-4 hours for writing and editing
1 hour for SEO optimization and formatting
30 minutes for publishing and distribution
Total: 6-8 hours per article. If you publish weekly, that's 25-32 hours monthly just for blog content.
With automation, the same workflow takes:
15 minutes to review research and approve angle
20 minutes to review draft and make edits
5 minutes to approve publication
Total: 40 minutes per article, saving 85-90% of manual time.
How Blog Automation Works in Practice
Here is the typical flow that powers automated blog writing:
Step 1: Research Layer
A research agent (like Tavily or Perplexity) pulls live data:
Top-ranking competitor articles on your target keyword
Recent news and developments in your topic area
Related questions people are asking (from "People Also Ask")
Key statistics and data points to cite
Gaps in existing content that you can fill
This research is structured into a brief that includes:
Primary keyword and search intent
H2 section suggestions based on what ranks
Angle or unique perspective to take
Sources to cite
Target word count (typically 1,500-2,500 words)
Step 2: Agent Brief Creation
The automation system creates a detailed brief with:
Target audience and their pain points
Brand voice guidelines (tone, sentence length, formatting preferences)
Keywords to naturally include
Structure template (intro, main sections, conclusion, CTA)
Examples of your best-performing content
This brief is stored in memory so the agent can reference it across multiple drafts.
Step 3: Content Generation
The agent drafts content in your voice:
Short sentences, no fluff (if that's your style)
Active voice and direct language
Specific examples and actionable steps
Proper heading hierarchy (H2, H3)
Internal links to related content
Code examples or screenshots (marked where needed)
The draft is not just text generation. The agent structures arguments, creates transitions, and ensures each section delivers value.
Step 4: Human Review Gates
Two critical review points prevent off-brand content:
Gate 1: Approve the Research Brief
Before any writing starts, you review:
Is the angle unique and valuable?
Are the proposed H2 sections comprehensive?
Does the research cover the right sources?
If yes, the agent proceeds. If no, you adjust the brief and regenerate.
Gate 2: Approve the Draft
After writing, you review:
Does it match your brand voice?
Are there factual errors or unsupported claims?
Does it provide genuine value to readers?
You can make quick edits or request a rewrite of specific sections.
Step 5: Publishing and Distribution
Once approved, the final output:
Posts directly to your CMS (WordPress, Next.js, Ghost, etc.)
Sends to email newsletter subscribers
Creates social media snippets for LinkedIn, Twitter, Instagram
Updates your content calendar
Notifies team members via Slack or email
Each step feeds the next. The agent does not just generate text—it plans, researches, structures, and delivers a complete publishing workflow.
The Tools That Power This Setup
Here's the tech stack for a production-ready blog automation system:
ToolRoleCost Hermes Agent / n8nCore orchestrator with persistent memorySelf-hosted or $20-50/mo Tavily APIReal-time web research and SERP analysis$0.005-0.01 per search OpenAI GPT-4 / ClaudeContent generation and editing$0.01-0.06 per 1K tokens Next.js / WordPressPublishing layer for blog contentExisting site Supabase / MongoDBData storage and session persistenceFree tier or $25/mo
Alternative Tool Options
For Orchestration:
n8n (self-hosted, free) - Best for developers
Make.com ($9-29/mo) - Best for no-code users
Zapier ($20-50/mo) - Easiest setup but limited AI actions
For Research:
Tavily (pay-per-use) - Best for structured data
Perplexity API ($20/mo) - Good for natural language queries
SerpAPI ($50/mo) - Direct Google search results
For Content Generation:
GPT-4 (API) - Best for long-form content
Claude Opus (API) - Best for following complex instructions
Llama 3.1 (self-hosted) - Best for cost control
Setting Up Your Blog Automation Workflow
Phase 1: Connect Your Tools
Start with the basics:
Set up your CMS API access: Get API keys from WordPress, Ghost, or your Next.js admin panel
Create a Tavily account: Sign up at tavily.com and grab your API key
Set up n8n or Make: Install n8n locally or create a Make.com account
Get AI model access: OpenAI, Anthropic, or host Llama locally
Phase 2: Build the Research Workflow
Create a workflow that:
Accepts a topic or keyword as input
Calls Tavily to research the topic
Extracts top-ranking competitor content
Identifies content gaps and opportunities
Generates a brief with structure suggestions
Sends the brief to you for approval via Slack/email
Test this workflow manually before automating. Make sure the briefs are consistently useful.
Phase 3: Add Content Generation
Once research works, add the writing step:
Take the approved brief
Send to GPT-4 or Claude with your voice guidelines
Generate the first draft
Run basic quality checks (word count, heading structure, link insertion)
Send draft to you for review
Prompt Template for Consistent Quality:
You are a blog writer for [Your Brand].

Voice guidelines:
- Short sentences (15-20 words max)
- Active voice
- No fluff or filler phrases
- Specific examples and actionable steps
- Conversational but professional tone

Topic: {topic}
Target keyword: {keyword}
Brief: {research_brief}

Write a 1,800-word blog post following this structure:
{structure}

Include:
- 2-3 code examples or screenshots (mark where needed)
- Links to official documentation
- Specific metrics or data points
- Troubleshooting tips

Do NOT claim personal testing unless explicitly provided in the brief.
Phase 4: Automate Publishing
After approval, the workflow should:
Format content for your CMS (HTML, Markdown, etc.)
Upload via API to your blog
Set publish date and SEO metadata
Create social media snippets
Send confirmation notification
Common Mistakes When Setting Up Blog Automation
1. Trying to Automate Everything at Once
Start with one workflow. Research only. Get that working perfectly. Then add writing. Then add publishing. If you try to wire ten agents on day one, you will break ten agents on day one.
I learned this the hard way. My first attempt tried to automate research, writing, SEO optimization, image generation, and publishing all at once. It failed at every stage. When I broke it into separate workflows, each one worked reliably.
2. Skipping the Review Gates
An agent that publishes without approval will eventually post something off-brand, factually incorrect, or poorly structured. Two quick review steps (brief approval, draft approval) save hours of cleanup and protect your brand reputation.
Review gates also help you improve the system. When you notice the agent consistently making the same mistake, you refine the prompt. Over time, your approval process gets faster as the system learns your preferences.
3. Using Generic Prompts
Tell the agent your voice rules explicitly:
Short sentences
Direct tone
No filler phrases like "In today's fast-paced world..."
Specific formatting preferences
Examples of your best content
The more specific your instructions, the less editing you do later. Include 2-3 examples of your best blog posts in the prompt so the agent can match your style.
4. Not Testing Edge Cases
Test your automation with:
Obscure topics with limited research available
Technical topics requiring code examples
Trending topics with breaking news
Topics where your brand has a unique perspective
See where the system breaks and add safeguards.
5. Ignoring SEO Basics
Automation does not mean abandoning SEO:
Include target keywords naturally in H1, H2, and first paragraph
Add meta description and title tag
Include internal links to related content
Optimize images with alt text
Structure content with proper heading hierarchy
Build these checks into your workflow so every published post is SEO-optimized.
Measuring Success: What to Track
Key metrics for blog automation:
Time saved: Track hours spent before vs. after automation
Publishing frequency: Are you publishing more consistently?
Content quality: Monitor engagement (time on page, bounce rate)
SEO performance: Track keyword rankings and organic traffic
Approval rate: What percentage of drafts pass review on first try?
A healthy automated system should have 80%+ first-draft approval rate after the first month.
Frequently Asked Questions
Can one agent handle multiple content channels?
Yes, if you set up separate workflows for each channel. A blog post needs different structure than an Instagram carousel or LinkedIn post. Use the same research layer, but different output templates for each platform.
I recommend starting with blog-only automation, then expanding to social media once that workflow is stable.
Does AI-written content rank on Google?
Google ranks helpful content, not human or AI content. If your article answers real questions, cites sources, and offers a unique angle, it will rank. Thin filler content will not, regardless of who wrote it.
The key is using automation to scale quality, not to spam low-value content. One well-researched, comprehensive article outperforms ten generic ones.
How much does the setup cost?
Initial costs:
Tavily API: $0.005-0.01 per search (~$5-10/month for weekly publishing)
OpenAI API: $10-30/month depending on usage
Hosting (if self-hosting): Existing infrastructure
n8n or Make: Free tier or $9-50/month
Total: $15-90/month depending on publishing volume and tool choices.
The main investment is time: about 1-2 days to wire the pipeline properly. After that, it runs with minimal maintenance.
What if the agent makes a factual error?
That's why review gates exist. During draft approval, fact-check claims and verify sources. Over time, you'll learn which topics require extra scrutiny.
You can also add an automated fact-checking step using a second AI model to verify claims against sources before sending to you for review.
How do I maintain my unique voice?
Include specific examples of your best writing in the system prompt. The more examples you provide, the better the agent matches your style. Also explicitly state what you avoid (buzzwords, passive voice, certain phrases).
Review and refine the prompts monthly as you notice patterns in what needs editing.
Next Steps
If you're ready to automate your blog writing:
Start with research automation only
Test for 2-3 weeks until briefs are consistently useful
Add content generation with mandatory review
Test for another 2-3 weeks
Add publishing automation once draft approval rate hits 80%
The entire setup takes 4-6 weeks to build reliably. But once it's running, you'll save 10-20 hours per week on content production while maintaining quality.
Want this built for you
If you want a custom AI automation pipeline for your business, I build these end to end. Book a free strategy call to discuss your content automation needs.